So you’ve decided you want to publish a book, but you’re not sure where to start? Octavo’s new editing system is here to help writers and publishers create, design, publish and distribute oBooks digitally, in just a few steps.
But first, what exactly is an oBook?
An oBook is a type of digital book that you can create, access and distribute through Octavo. The pages of an oBook are scrollable and can be navigated in the same way you would read a webpage. These digital books are streamed through the Octavo platform, but can also be downloaded to be read offline.
Who is Octavo’s self-publishing system suitable for?
If you’re looking to maintain control of your content from the start of the publishing process to the end, Octavo’s self-publishing system could be the ideal solution for you. Be it educational, informative, fictional, non-fiction or any other genre and format – you can set up your own digital oBook and get it ready for distribution through the Octavo marketplace.
No technical know-how is necessary. However, if you do get stuck, we’ve got a team of publishing and technology professionals who can lend a helping hand to get your content up and running in no time.
Here’s our step-by-step guide on how to create oBooks on Octavo and self-publish your work!
PART 1: Setting-up your oBook
- Log-in to your account on www.octavo.app or create a new account by clicking on ‘Profile’ from the left-side menu.
- Once you’re logged in, go to your ‘Profile‘ where you’ll see a list of organisations that you are a part of. You can either select one of those organisations to add your oBook to, or create your own organisation by choosing a name and clicking ‘save’.
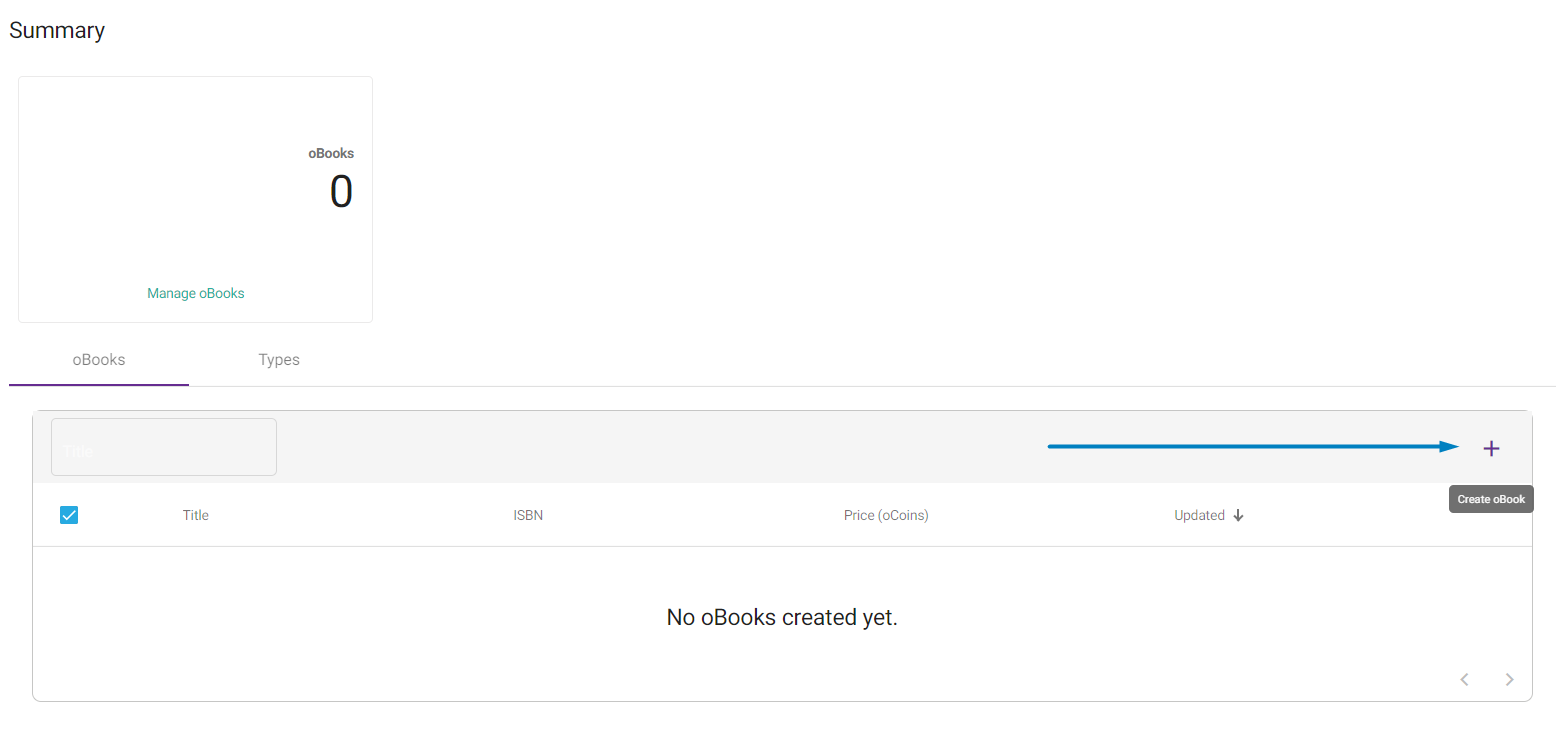
- Select ‘oBooks’ from the content tab on the left side of your screen as shown below. Then click on the plus sign to create a new oBook.
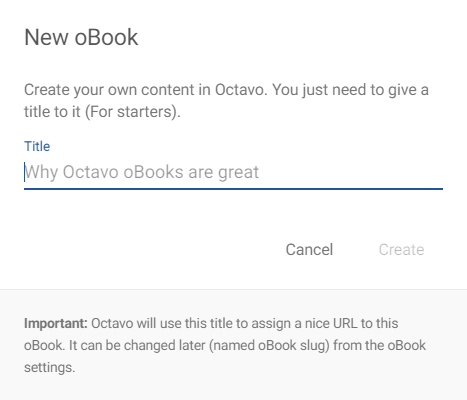
4. Choose a name! This name will also be used to generate a URL for your oBook.
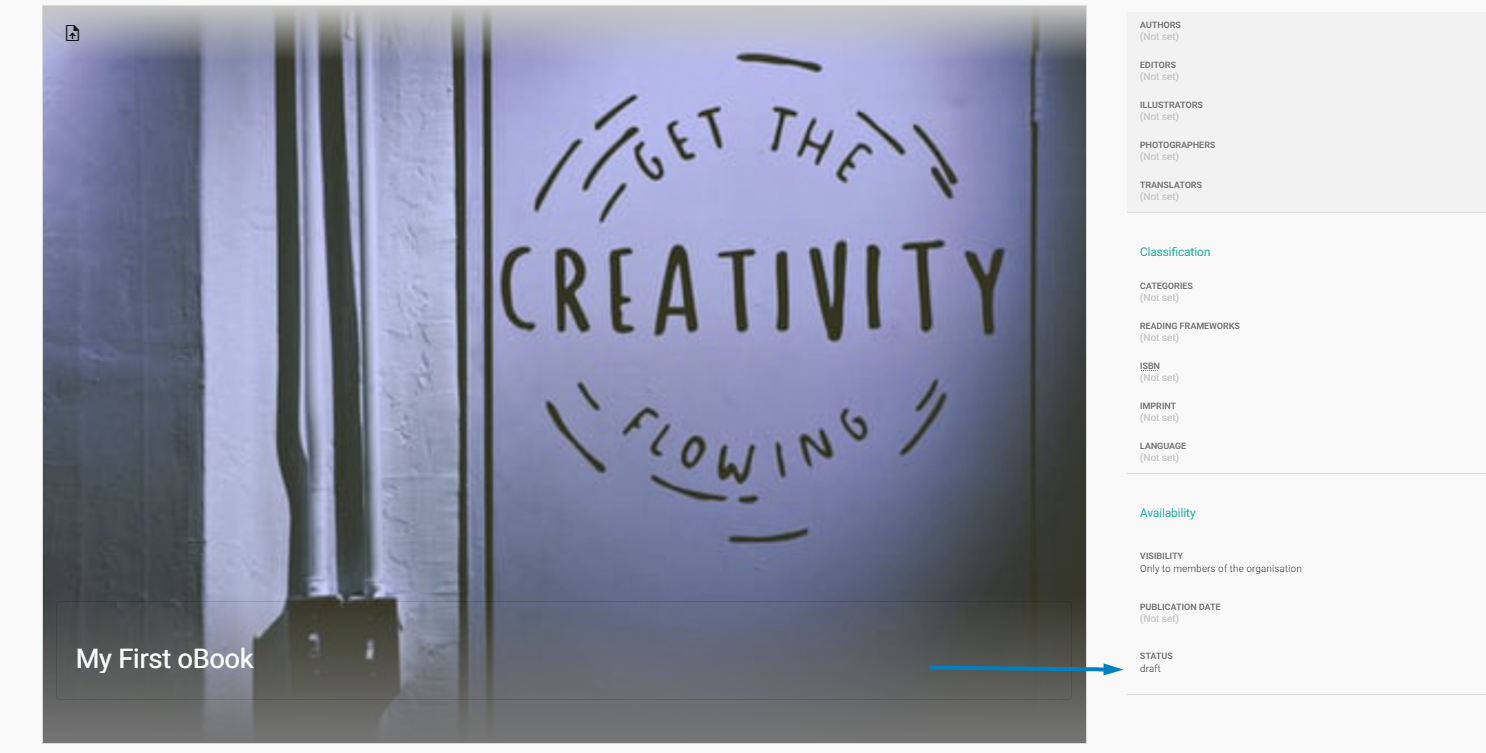
5. Input the relevant details of your oBook, such as names of authors, illustrators, photographers and translators.
6. Next, you can also fill in the classification details such as the category, reading framework, ISBN (if any), imprints and languages, which will make your oBook easier to find on the marketplace and in your library.
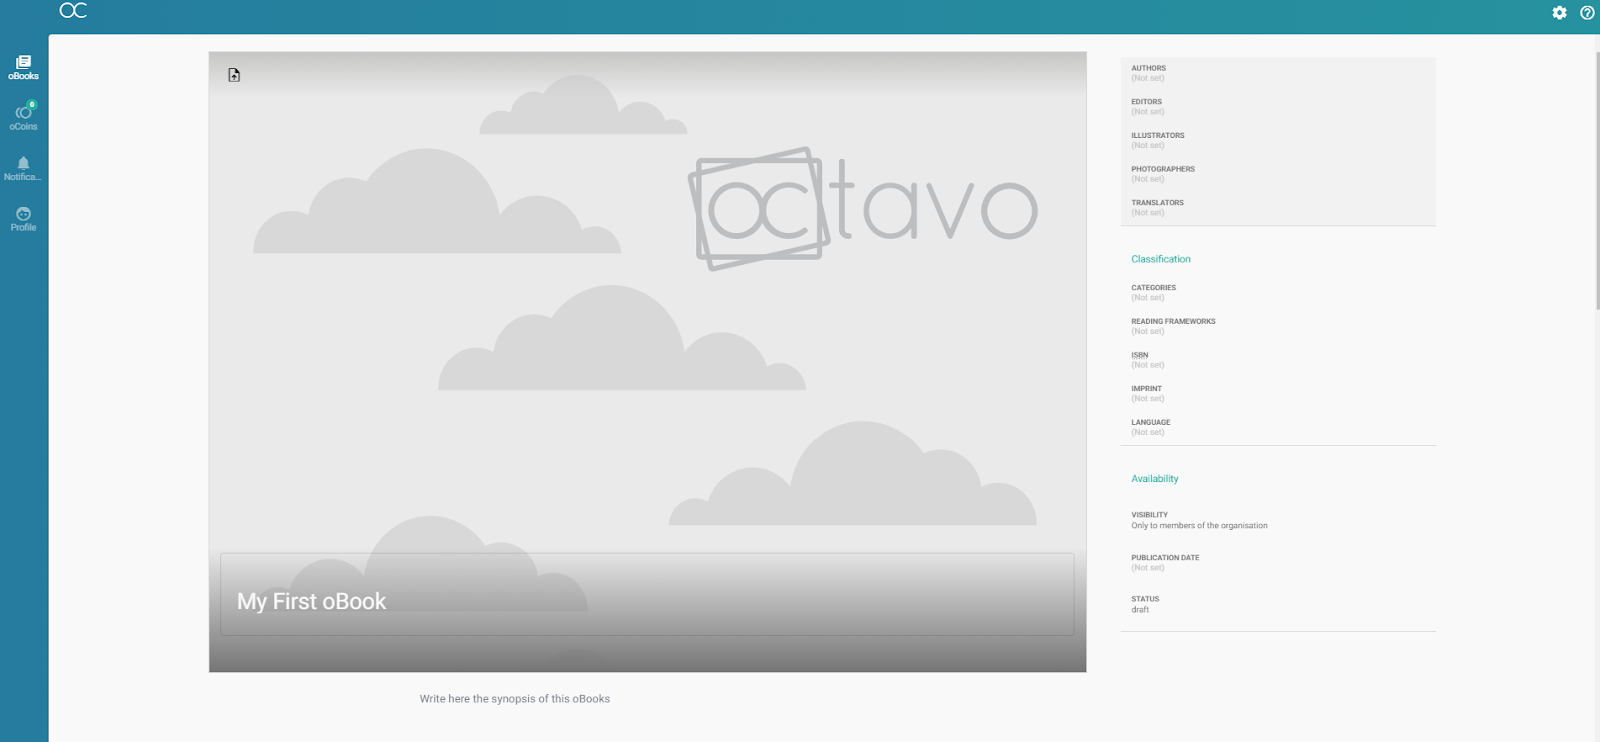
7. Finally, add your publication date and choose whether you want to distribute your oBook to a specific organisation only, or make it visible to all Octavo users via the Octavo marketplace. If you choose to make it available on the marketplace, you will also need to set a price.
💡 TIP: Make sure you leave your oBook’s status on draft until you’ve finished editing the content!
PART 2: Adding Content to your oBook
- Scroll down to the first chapter of your oBook and click on the dialogue box on the left side of your screen.
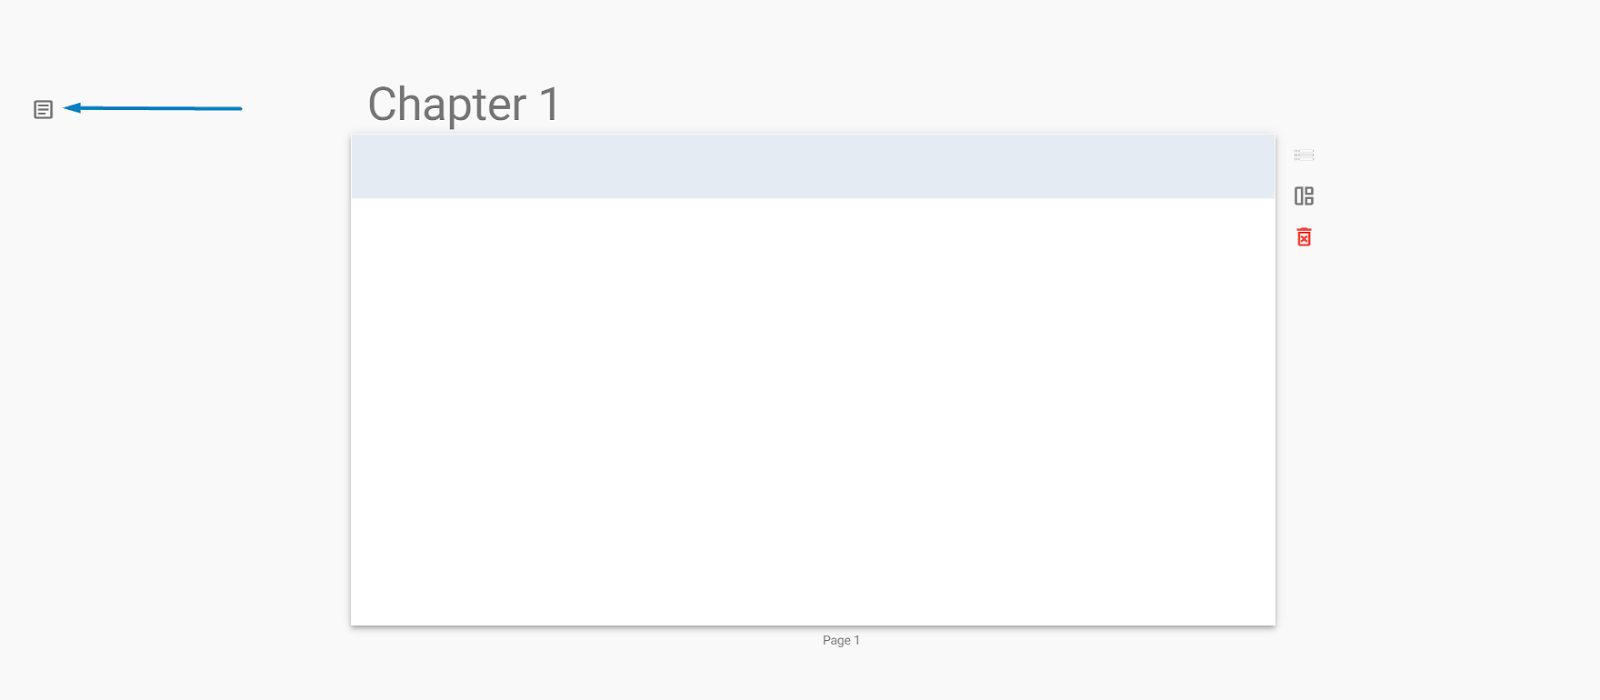
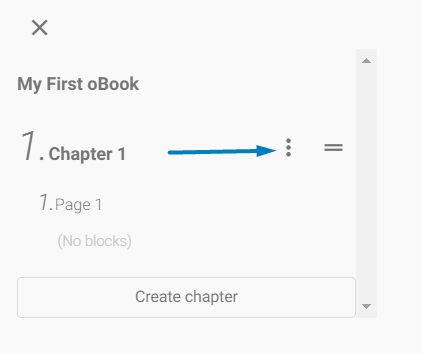
2. Click on the icon indicated in the image below to add more pages and rename chapters. To add a new chapter, select the ‘Create Chapter’ button beneath the page list.
3. Click on the icon in the image below to select or change the layout for your page.
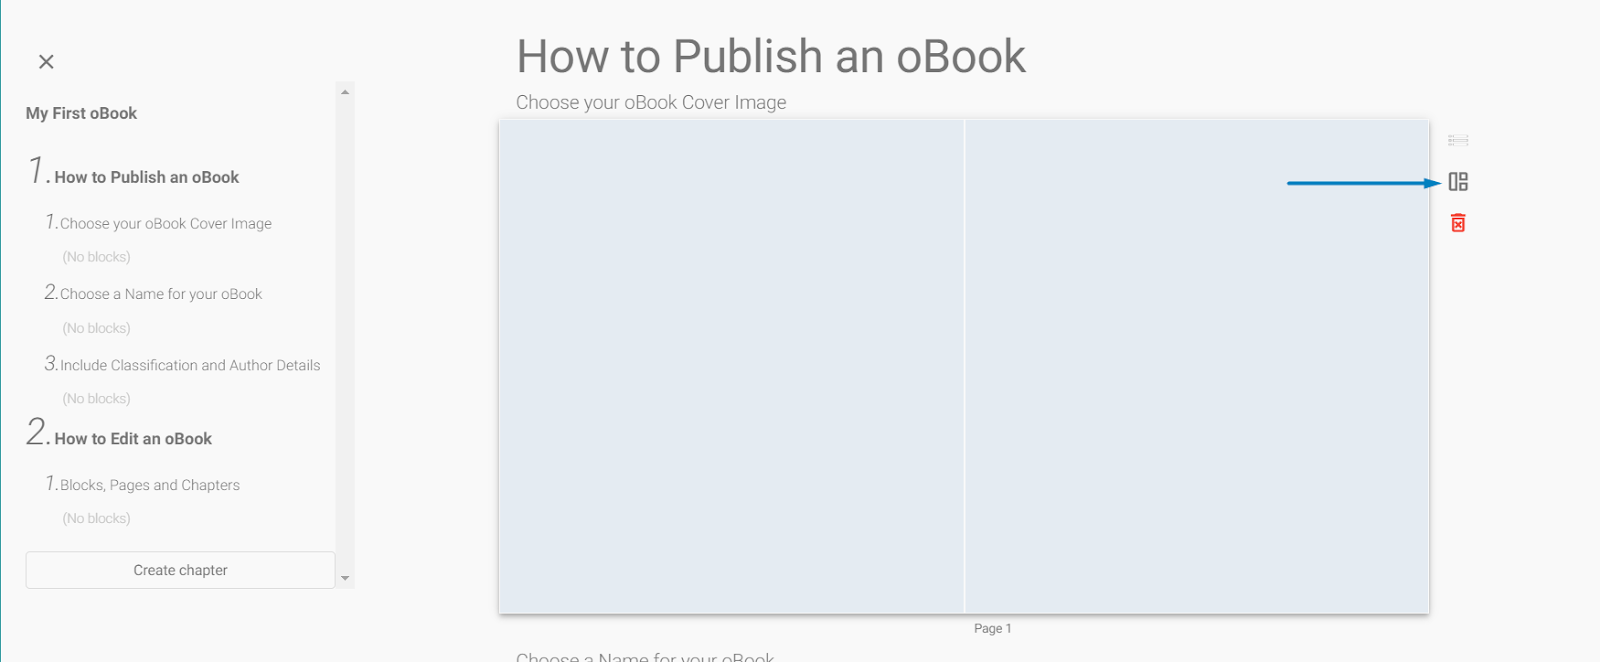
💡 TIP: Page sizes will adapt to the length of your content, so pages do not all need to contain an equal amount of text!
4. After selecting a layout, click on ‘Create block’ to start inputting your content. You can choose between three types of blocks: Text Block, Illustration or Video.
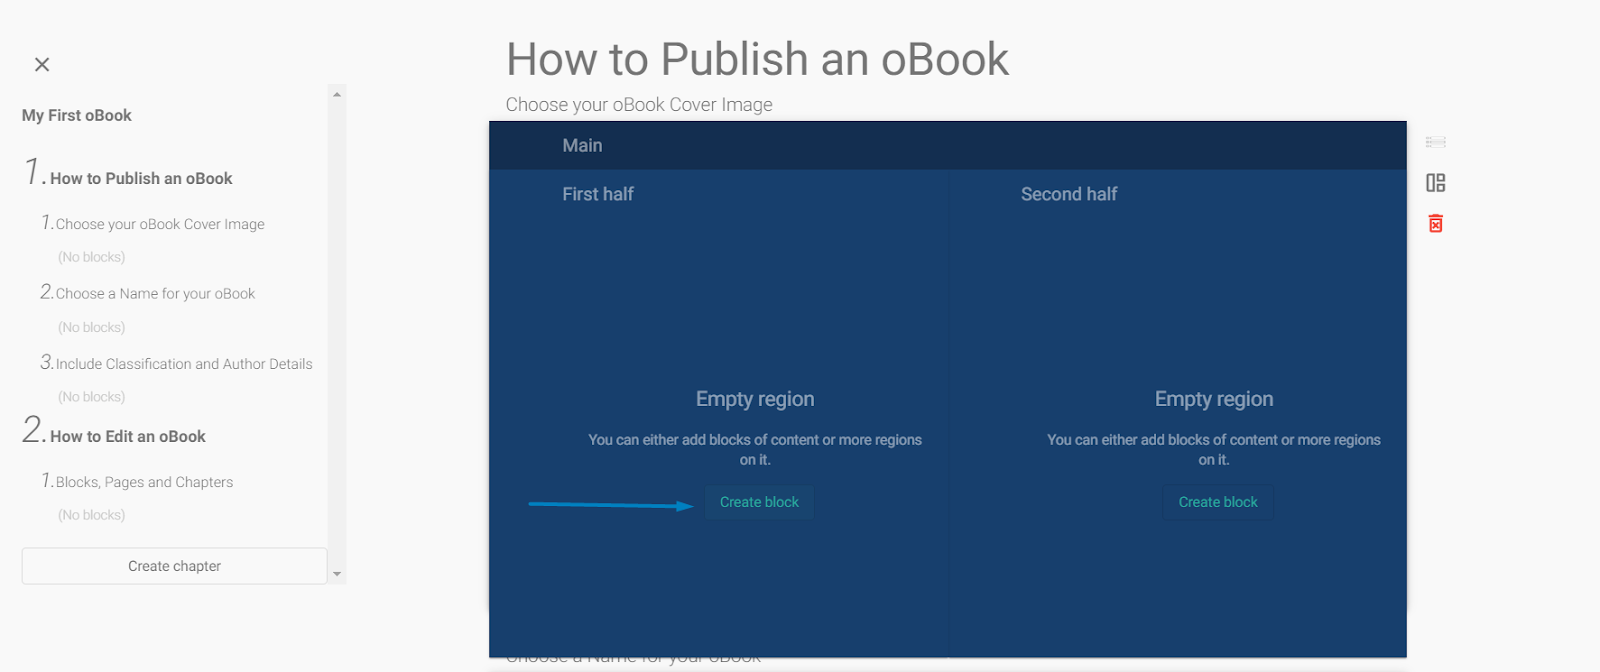
5. Through the settings menu, you can add audio narration to your oBook, move a content block to another region, or delete content blocks altogether. You can add more blocks to your page by clicking on the plus sign, using different forms of media to illustrate your text.

PART 3: Publishing your oBook
- Once you’ve inputted all your content, you can add a cover image and a synopsis to your oBook.
- Review all the classification, contributors and publication details to ensure they are all correct.
💡 TIP: If you can’t find your author’s name listed, send an email to support@octavo.app to be added to Octavo’s author list.
- Finally, change the status of your oBook from draft to published!
After being published, your oBook will either be available on the Octavo marketplace or made visible to your selected organisation, depending on the option you chose. It will also be automatically added to your library and the library of any of the listed contributors.
You can invite as many members to your organisation as you wish, granting them access to the oBooks you’ve created too!
If you have any questions about creating oBooks, please send an e-mail to support@octavo.app.
2 Replies to “Create an oBook: A Guide to Digital Self-Publishing on Octavo”